| Templates used: | |
| Release checklists: |
This tutorial covers the steps required to add a docset for a brand new destination to the docs.
Step 1: Create a new branch
If you haven’t already, create a new branch off of the Stitch Docs master branch. Name it something descriptive to ensure it’s easy to find and tell what you’re working on.
Note: Do not fork the Stitch Docs repo and create a branch. Please clone the repo locally, and then create a new branch.
Step 2: Copy base doc templates to _destinations
In this step, you’ll copy the template folder containing the base docs for the destination to the _destinations collection. This collection contains the docs for the destinations Stitch supports and is used to generate pages on the live docs site.
- In Finder or the file browser of your choice, navigate to the
_templates/destinationsfolder. - Copy the
/base-docsfolder and its contents. -
Paste the
/base-docsfolder into the root of the_destinationscollection: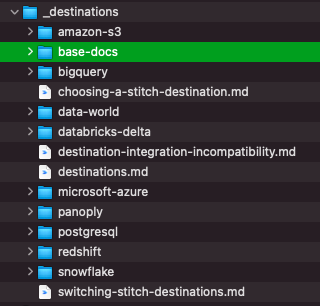
Step 3: Rename the base doc folders and files
- Open the
base-docsfolder. -
Rename the
base-docsfolder to the name of the destination.For example: For a Snowflake destination, this folder would be named
snowflake. -
Rename the
destination-category.mdfile to include the destination’sname.For example: If the destination is Snowflake, the name of the file would be
snowflake-category.md -
Rename the
versionfolder tov{version}, where{version}is the version of the destination.For example: If this is version 1 of the destination, the folder would be named
v1. The end result should follow this format:_destinations/{destination}/v{version} - In the version, or
v{version}folder you just renamed, rename the files to include the name and version of the destination:
| Original file | Renamed file |
| destination-category-version.md | {destination}-category-v{version}.md |
| destination-overview.md | {destination}-overview-v{version}.md |
| destination-setup.md | {destination}-setup-v{version}.md |
Step 4: Fill in the templates
Fill in the base doc templates, using the following resources as a guide:
| Template name | Documentation |
| destination-setup.md | Destination setup template reference |
Step 5: Refer to your release checklist
If you’re working on a release, refer to the release checklist you’re using to wrap up the remaining steps for launch:
Back to top
Last updated: 28 July 2021